
The average gel manicure costs $28 a trip. If you go once a month that’s $336 a year! Now I understand, some ladies like to do it because it relaxes them. If that is you, then I fully support the expense. However, if you are like me and squirm the whole time you are in the chair thinking about what you have to do that day then you are going to LOVE today’s DIY!

I bought this little Sally Hansen kit almost 3 years ago now and it is amazing. I use it all the time because it is fast and easy and the end result is salon quality. Whenever I post about it on snapchat (@tilleysthreads) I get tons of questions on it, so here it is ladies!
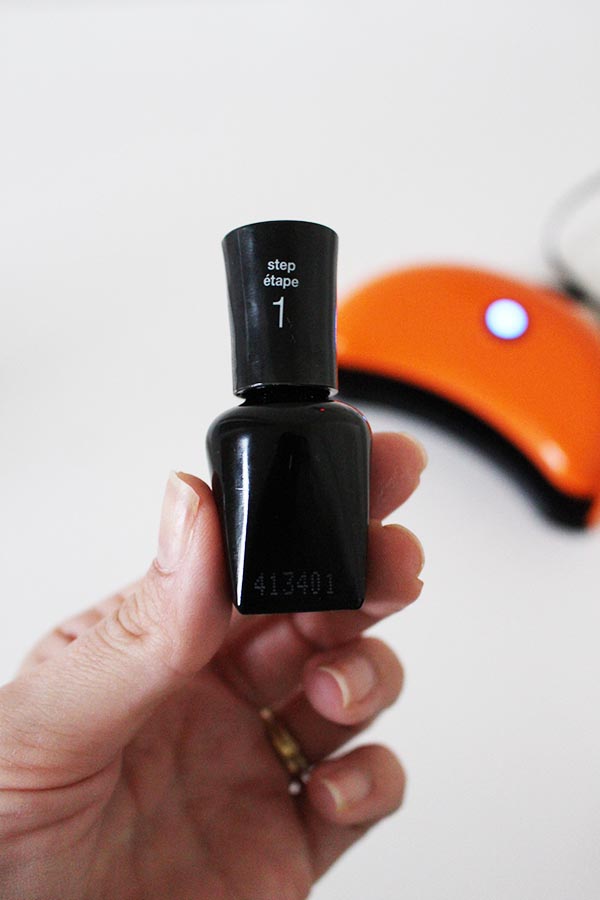
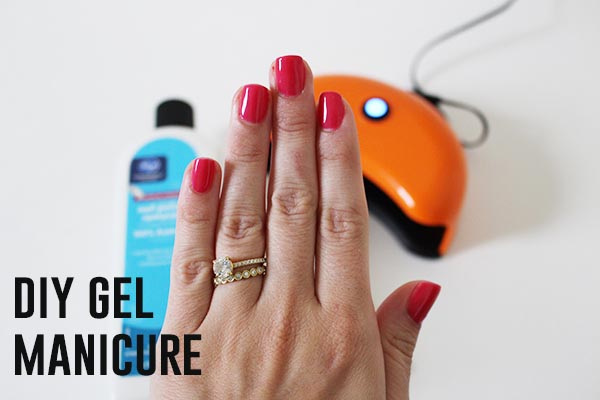
First, I usually shape and buff my nails and swab them with pure acetone. Then comes the official step one, the base coat. Apply a thin layer avoiding skin.
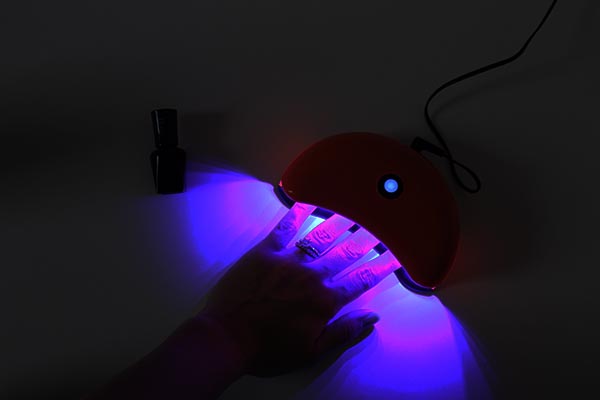
Then it is bake time! The machine is on a timer so just slip your hand in until the light turns off.
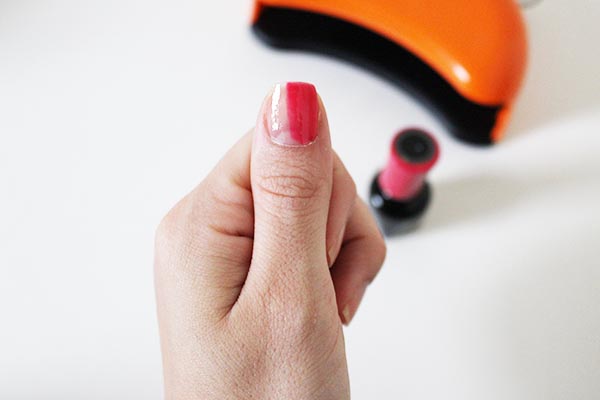
Next, is the color coat. I get a lot of questions about this because so many people complain of not having a steady hand. I honestly cannot use regular polish for the life of me but this gel stuff is easy peasy! As long as you don’t get it on your skin, I promise it will come out looking even. It is seriously magic. I usually apply 2-3 coats of color, baking under the light after each coat.
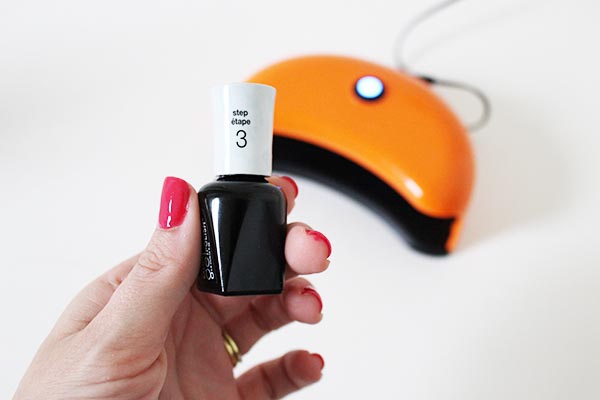
The last coat is your top coat. It should go on clear and thin. Bake under the light for the last time and then wipe with the pure acetone again and you are done!
This bad boy saves me so much time and money, and y’all know I am alllll about THAT!
